Mastering the Art of Streaming Voice and Audio Quality
28 June 2025
Streaming is all the rage these days, right? From Twitch streams to YouTube videos and podcasts, everybody’s getting in on the action. But let me hit you with something you might not have thought about: how does your audio sound? Because, let’s be honest, nobody’s sticking around if your voice sounds like you’re talking into a tin can underwater.
Whether you’re a seasoned streamer or just dipping your toes into the world of content creation, mastering the art of streaming voice and audio quality is a game-changer. If you’re not sure where to start, grab your favorite beverage and settle in—we’re going to tackle this one step at a time.
Why Audio Quality Matters More Than You Think
Here’s the thing: visuals are important, but audio is king. Why? Because bad audio is straight-up painful to sit through. Have you ever clicked on a video or livestream only to hear static, echo, or muffled voices? Yikes. You probably hit the back button faster than a speedrunner finishing the first level of a Mario game.If your audio quality is trash, even the best gameplay, commentary, or personality won’t save you. Great audio keeps people engaged, makes your content more professional, and builds trust with your audience. If they can hear you crystal clear, they’re more likely to stick around and hit that "subscribe" button. Plus, let’s not forget: good audio is kind of a big deal if you want to grow your brand.
The Essential Ingredients for Top-Notch Voice Quality
Alright, now that we’ve established why audio quality matters, let’s dive into the nuts and bolts. Think of your audio setup as the ingredients in a recipe. Get the right mix, and you’ve got yourself a five-star dish. Leave something out? Well, you get the idea. Here’s what you’ll need to focus on:1. A Decent Microphone
First things first: ditch that cheap headset mic. Trust me on this one. Investing in a proper microphone will level up your audio game instantly. You don’t need to drop hundreds of dollars, but you do need something that doesn’t sound like it came out of a cereal box.Some popular mic types to consider:
- Dynamic Microphones: Great for canceling background noise. Perfect if you’re streaming in a noisy environment.
- Condenser Microphones: Capture a wider range of frequencies but pick up more background noise. Best for quieter spaces.
A couple of solid options? The Audio-Technica AT2020 or the Blue Yeti. Both pack a punch without blowing your budget.
2. A Pop Filter or Wind Screen
Ever heard those harsh "p" or "b" sounds in someone’s audio? That’s called plosive noise, and it’s not fun to listen to. A pop filter is like your mic’s best friend—it softens those sharp sounds and keeps your audio smooth.Pro Tip: If you’re on a super-tight budget, you can DIY a pop filter with a wire hanger and some pantyhose. It’s not glamorous, but it works.
3. Shock Mount
Nobody likes random thuds or vibrations in their audio. A shock mount keeps your mic stable and absorbs any desk movement or accidental knocks. Think of it as a seatbelt for your microphone—it keeps things steady when life gets bumpy.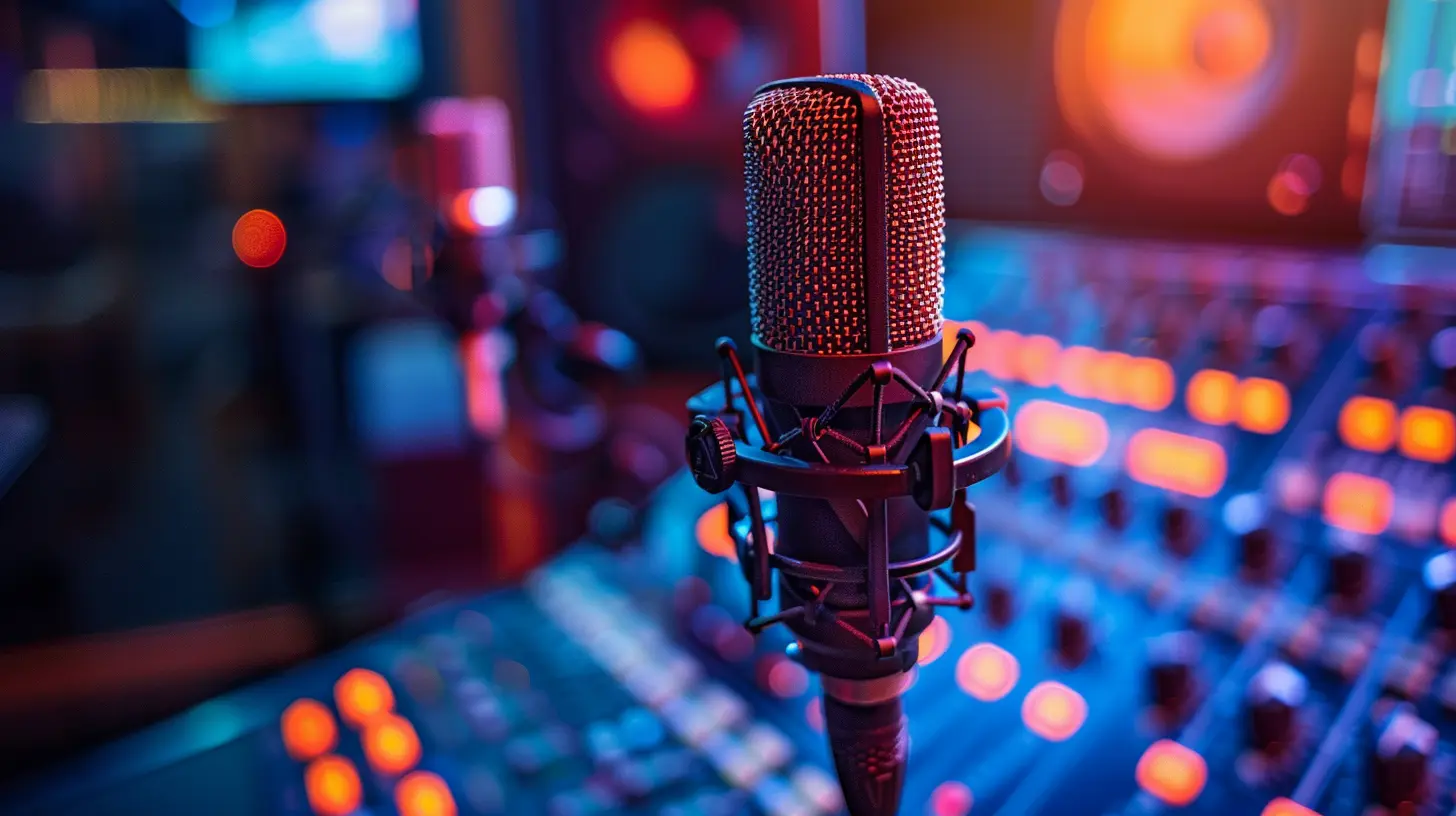
Optimizing Your Streaming Environment
Okay, so you’ve got the gear. But guess what? Even the best microphone can’t save you if your room sounds like an echo chamber. Here’s how to set yourself up for success:1. Reduce Background Noise
Noise is your enemy. Whether it’s a barking dog, the neighbor’s lawnmower, or your roommate yelling at their game, you need to minimize distractions. A few tricks:- Close windows and doors.
- Use a noise gate in your audio software to cut out low-level sounds.
- Record at times when your surroundings are quieter (early mornings or late nights, anyone?).
2. Treat Your Space
Think of soundwaves as rowdy kids at a playground—they bounce everywhere. To keep them in check:- Add soft furniture, rugs, or blankets to absorb excess sound.
- Use foam panels or acoustic treatment if you want to go pro.
Not ready to splurge on panels? No worries. Even hanging thick curtains or throwing some pillows in the room can help.
3. Position Your Mic Correctly
Mic placement is the unsung hero of great audio. Keep your microphone about 6-12 inches from your mouth and slightly off to the side. Why? This reduces popping sounds and keeps your voice clear and natural.
Mastering Your Software Setup
The hardware is just one half of the equation. Let’s talk about software—the tools and settings that’ll take your voice from "meh" to "chef’s kiss."1. Choose the Right Software
If you’re streaming, you’ll likely be running something like OBS Studio or Streamlabs OBS. Both of these have audio settings you can tweak to your heart’s content. Not streaming live? Audacity is a fantastic free option for recording and editing audio.2. Set Up Noise Filters
Pretty much every streaming software has built-in filters. Here are a few you should absolutely use:- Noise Gate: Blocks sound below a certain volume threshold (goodbye, keyboard clicks).
- Compressor: Evens out the highs and lows of your voice so it’s consistent.
- Noise Suppression: Reduces constant background hums like fans or air conditioning.
3. Tweak Your EQ (Equalizer)
Think of EQ as the seasoning on your audio. Boosting or cutting certain frequencies can make your voice sound fuller and more professional. Not sure where to start? Here’s a cheat sheet:- Boost the low-mid frequencies (around 100-300 Hz) for warmth.
- Cut the mids (500-1,000 Hz) if your voice sounds boxy.
- Sweeten the highs (2,000-5,000 Hz) for clarity.
Tips for Nailing Your Delivery
Great audio isn’t just about the tech—it’s also about how you use your voice. Think of yourself like a musician. You’ve got the instrument (your voice), the tools (your gear), and the performance (your content). Here’s how to hit the right notes:1. Speak Clearly
No need to channel your inner Shakespeare, but mumbling isn’t doing you any favors either. Speak like you’re talking to a friend who's slightly hard of hearing—clear, but not exaggerated.2. Control Your Breathing
Ever notice how some streamers sound out of breath halfway through a sentence? Yeah, don’t be that person. Practice breathing from your diaphragm, and use pauses to your advantage.3. Add Personality
Your voice is your brand. Are you energetic and bubbly? Chill and laid-back? Whatever your style, let it shine. Remember, people come for the content but stay for you.Troubleshooting Common Audio Problems
Nobody’s perfect, and let’s face it—technology loves to act up. Here’s how to deal with a few common headaches:Problem 1: Echo or Reverb
- Solution: Check your room acoustics. Add more soft surfaces to absorb sound.Problem 2: Static or Background Hiss
- Solution: Check your cables—they might be damaged. Use a noise suppression filter in your software.Problem 3: Crackling Audio
- Solution: Lower your mic’s gain. Too much input volume can cause distortion.Final Thoughts
Mastering the art of streaming voice and audio quality is more than just a skill—it’s a must-have for any serious content creator. Sure, it takes a bit of time and effort, but the payoff? Totally worth it. Your audience will thank you, your streams will sound smoother, and you’ll stand out in a sea of average setups.So, what’s stopping you? Invest in your gear, optimize your space, and get those settings dialed in. Your future self—and your growing audience—will be glad you did.
all images in this post were generated using AI tools
Category:
Twitch StreamingAuthor:

Lucy Ross
Discussion
rate this article
2 comments
Penelope McGonagle
I'm fascinated by how audio quality can elevate a stream! What are the top tools you recommend?
October 25, 2025 at 4:15 PM
Lucy Ross
I'm glad you’re interested! For enhancing audio quality, I recommend using tools like a high-quality microphone (like the Audio-Technica AT2020), an audio interface (Focusrite Scarlett 2i2), and software like OBS Studio or Adobe Audition for mixing and editing.
Liora Stewart
This article brilliantly addresses the often-overlooked nuances of audio quality, crucial for enhancing viewer engagement and immersion.
July 4, 2025 at 4:15 AM
Lucy Ross
Thank you for your kind words! I'm glad you found the nuances of audio quality valuable for enhancing engagement.